Environment
- Ubuntu 16.04
- ZYBO Z7 10
- Vivado 2017.4
Permission
$ cd ~/.Xilinx/
$ sudo chown -R  *
$ sudo chmod -R 777 *
$ sudo chgrp -R  *
$ cd ~/.Xil/
$ sudo chown -R  *
$ sudo chmod -R 777 *
$ sudo chgrp -R  *
$ vim ~/.bashrc
source /opt/Xilinx/Vivado/2017.4/settings64.sh
alias xsdk='env SWT_GTK3=0 xsdk'
alias vivado='env SWT_GTK3=0 vivado'Run Vivado
$ source /opt/Xilinx/Vivado/2017.4/settings64.sh
$ sudo -s
$ vivado
$ exit
Create Project
Input below commands in the Tcl Console.
$ cd /home/xxx/Vivado/Zybo-Z7-10-HDMI/proj
$ source ./create_project.tcl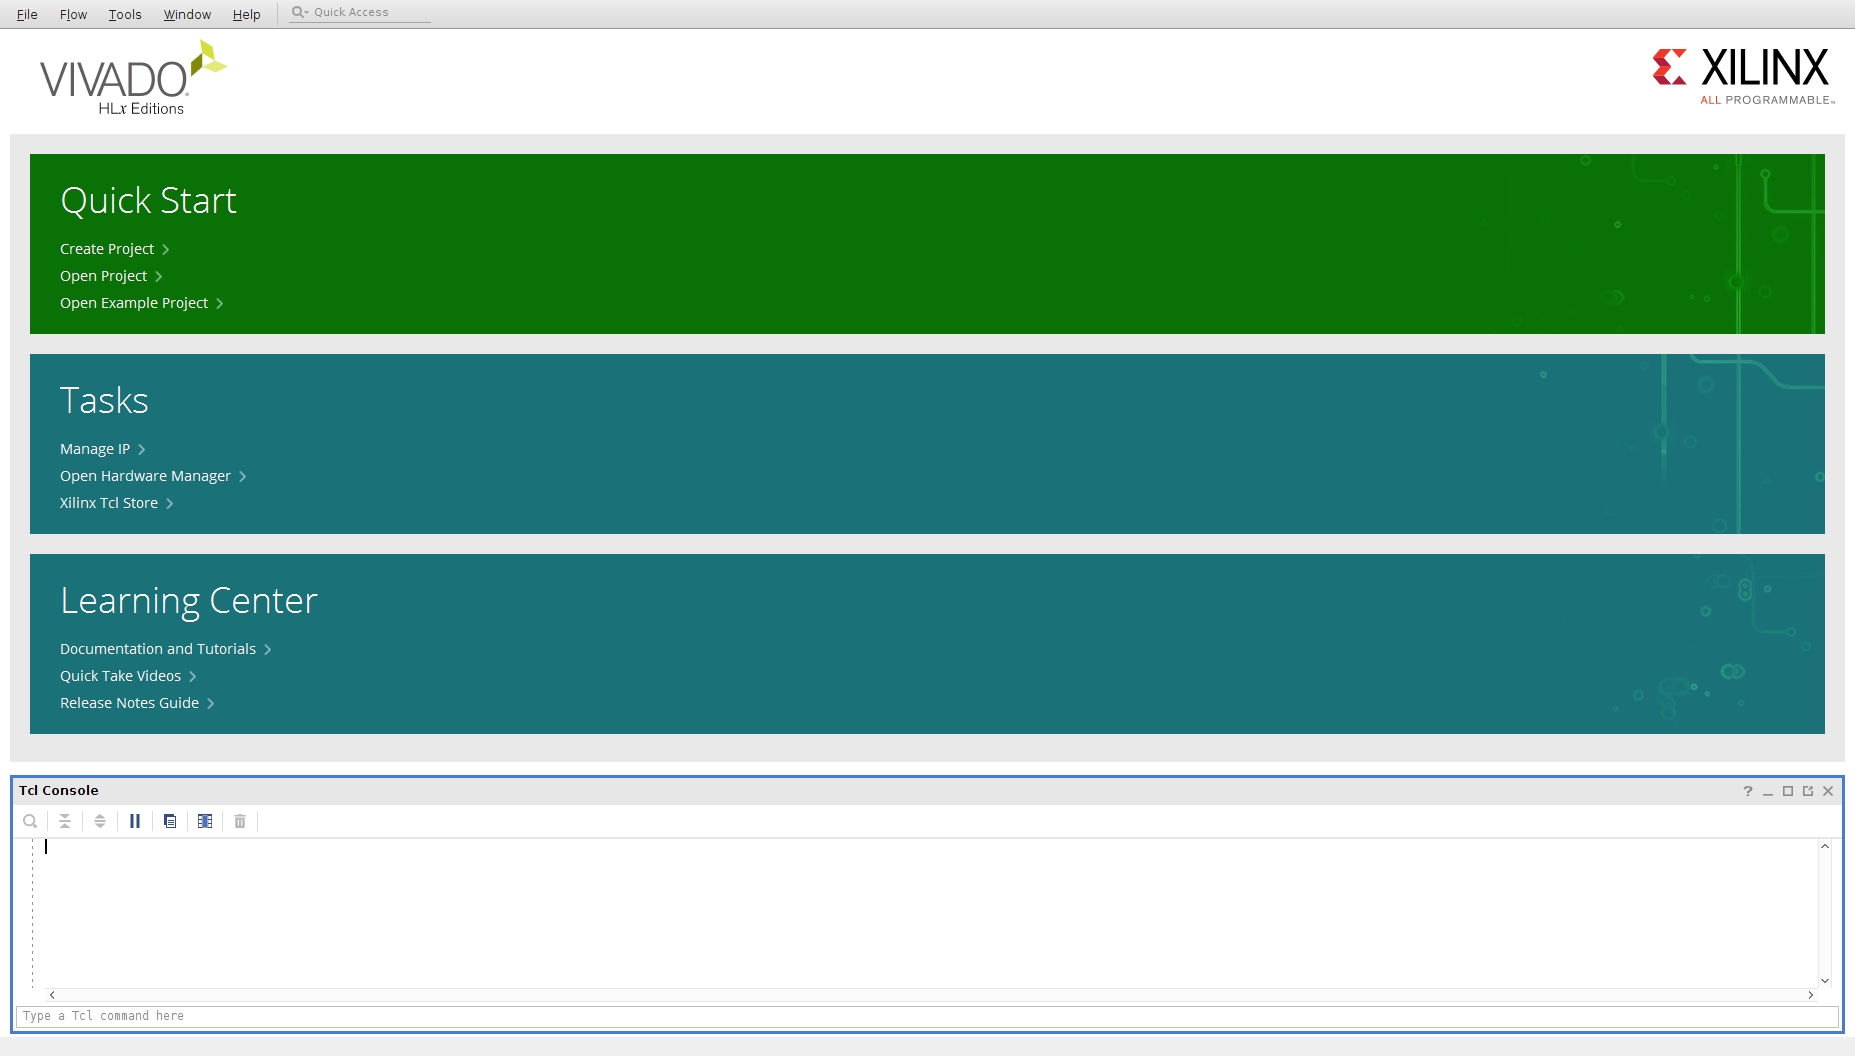
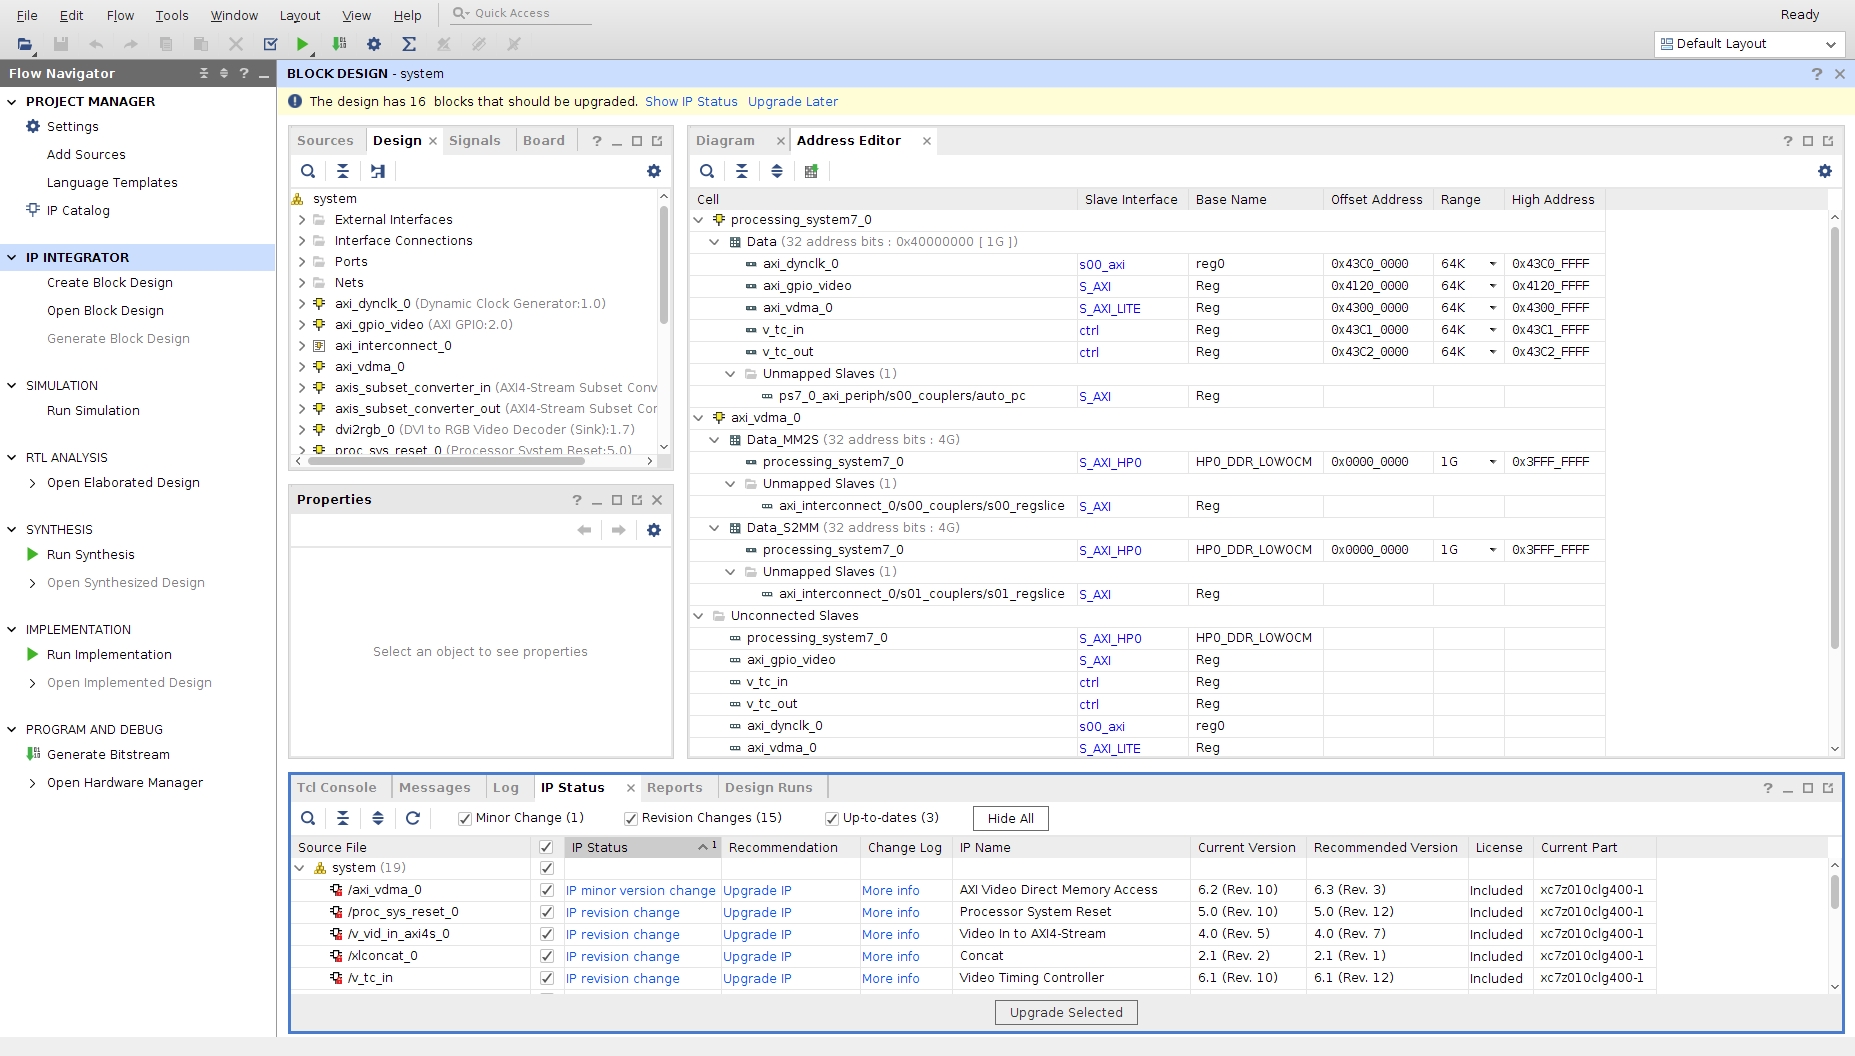
Upgrade IP library
$ cd /home/xxx/Vivado/Zybo-Z7-10-HDMI/repo/
$ git clone https://github.com/Digilent/vivado-library
Tools > Report > Report IP Status
Click “Upgrade Serected”.
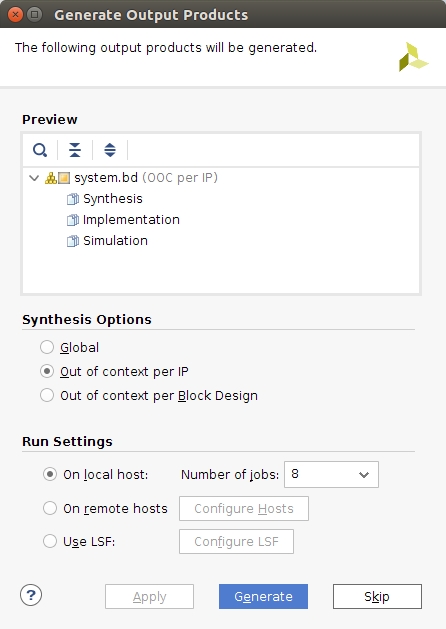
Generate Output Products
Now, can see “Generate Output Products” window automatically.
Then click “Generate”.
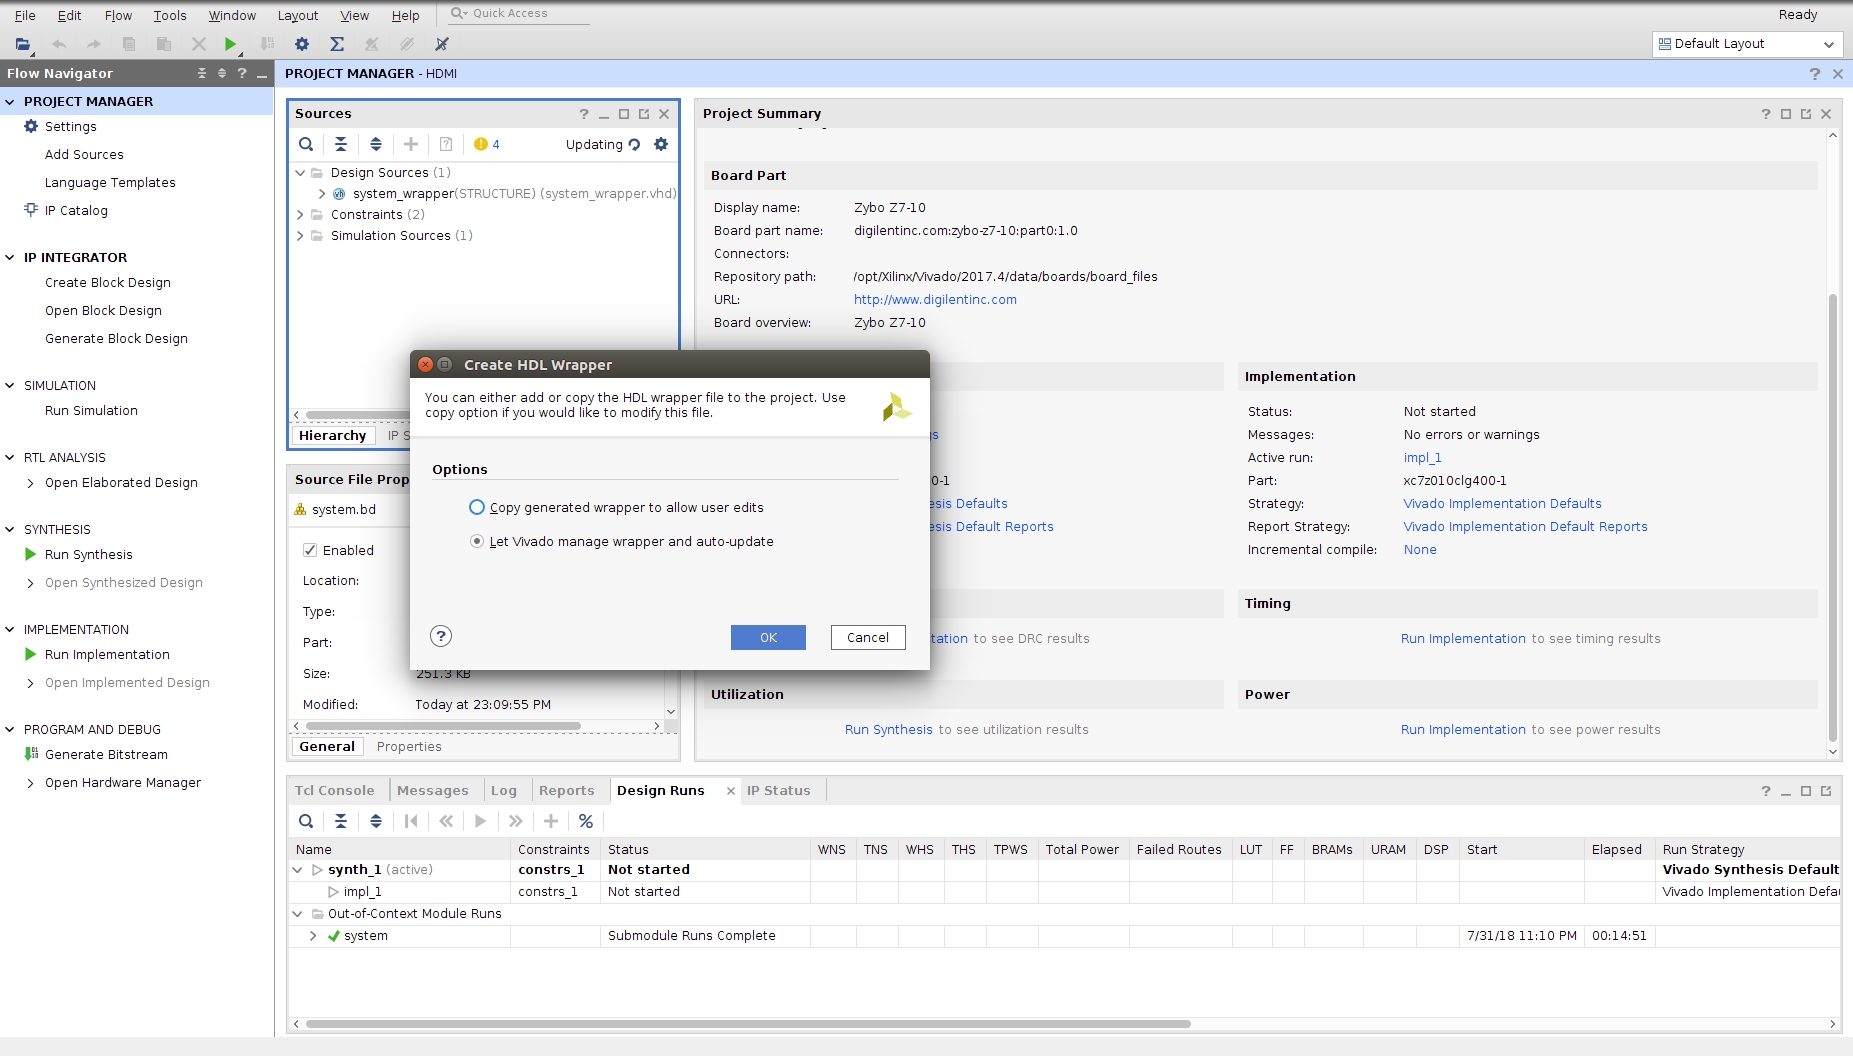
Generate Wrapper
BLOCK DESIGN > Sources > Design Sources
Light Click and then Create HDL Wrapper.
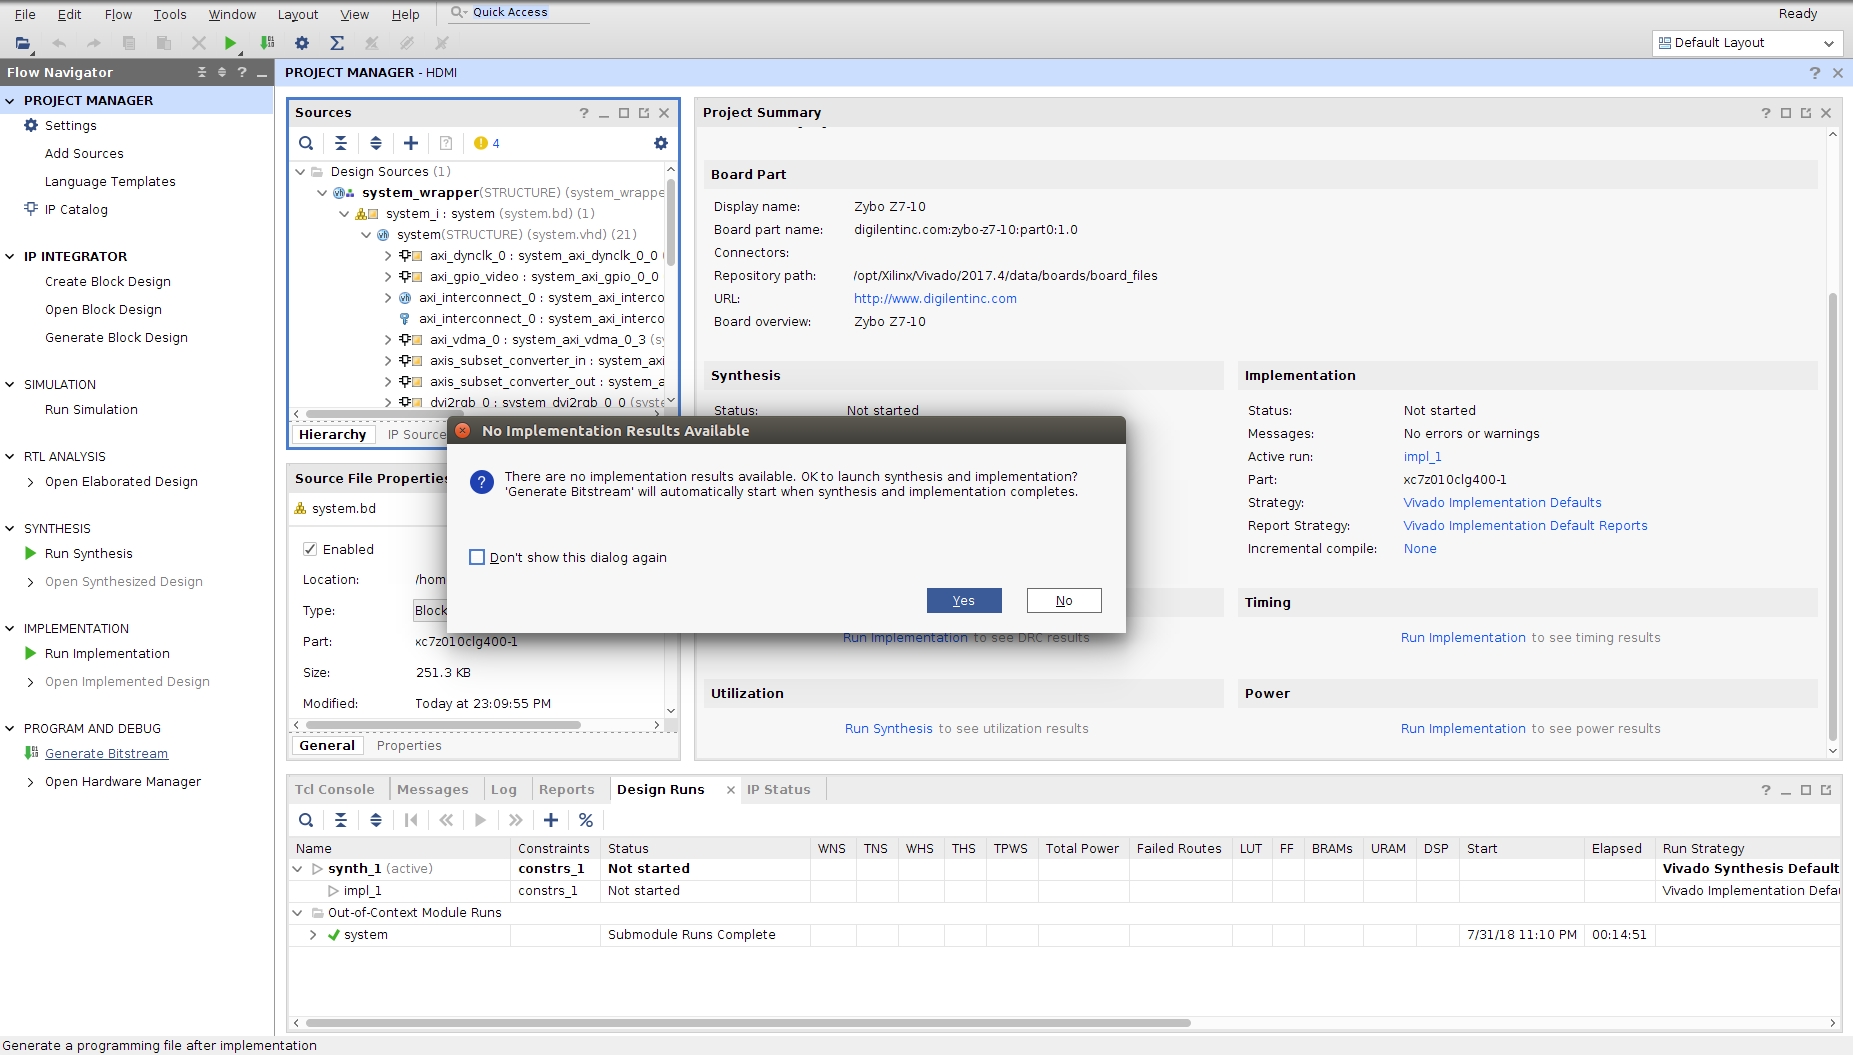
Generate Bitstream
Export Hardware
File -> Export -> Export Hardware
Check “Include bitstream”.
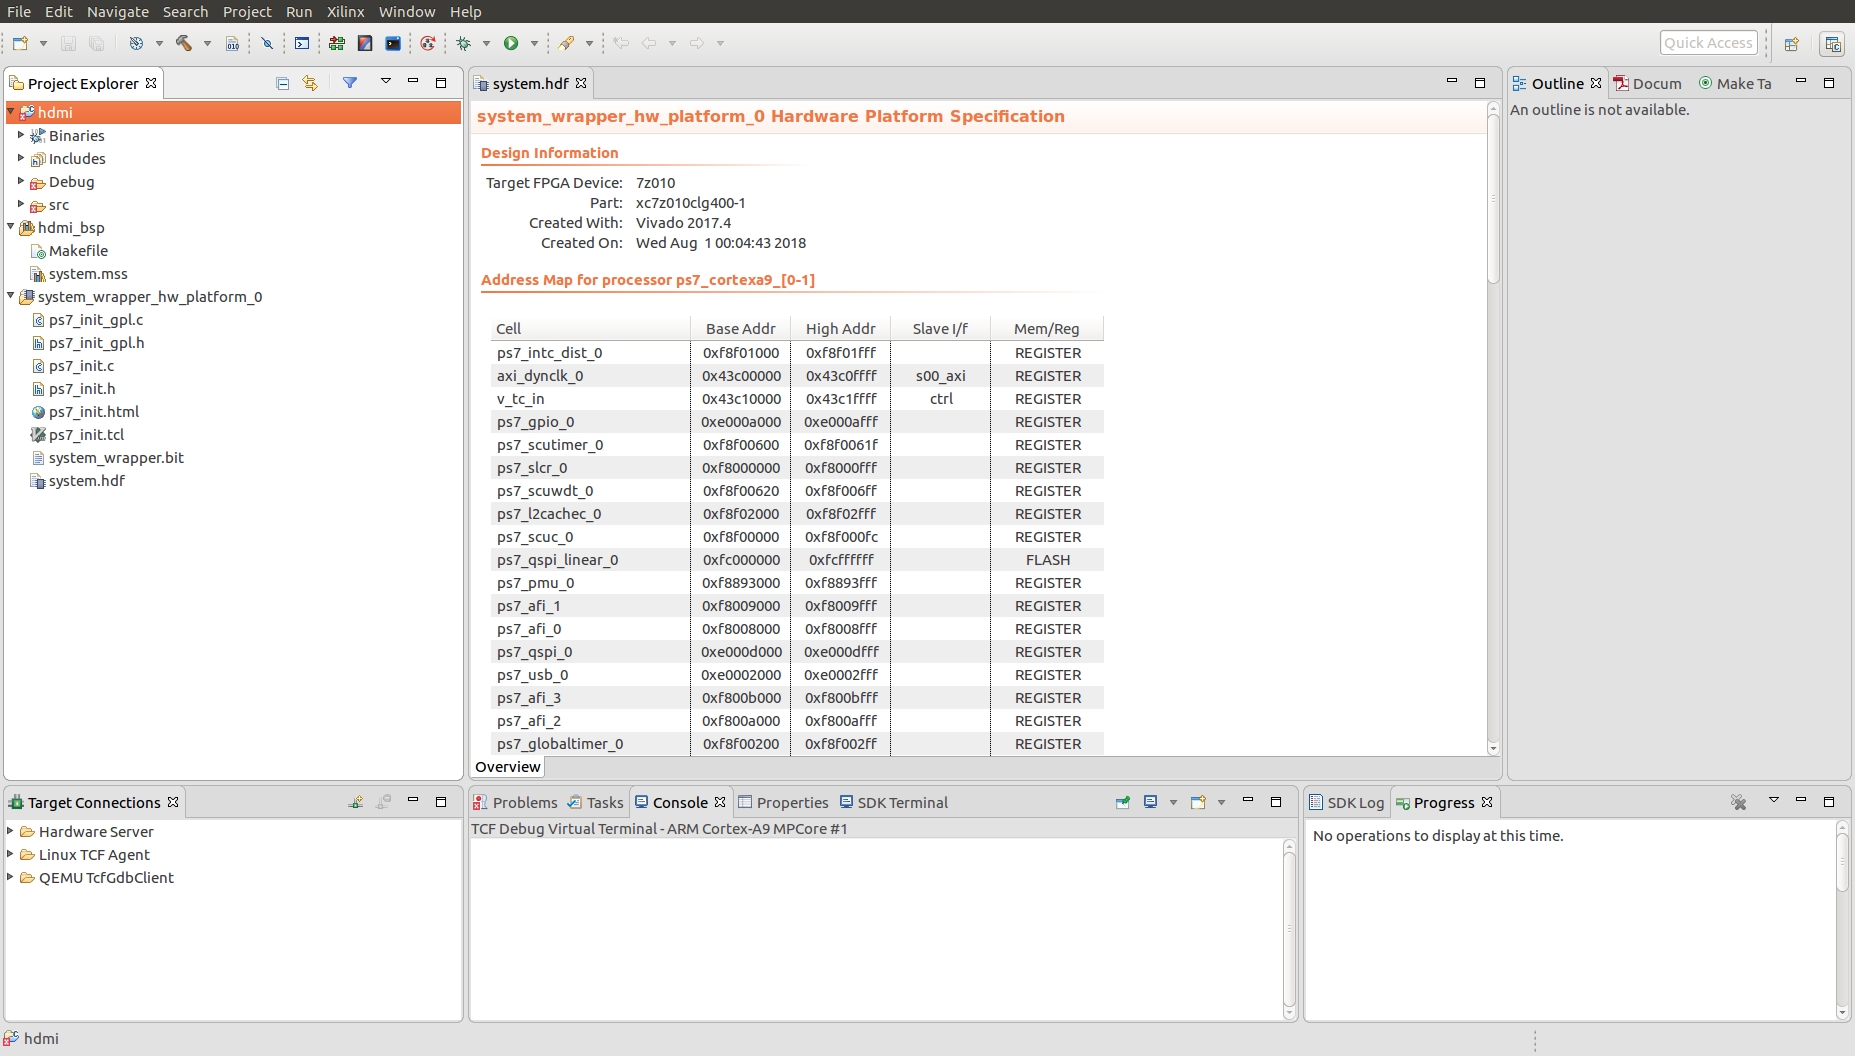
Launch SDK
File -> Launch SDK -> OK
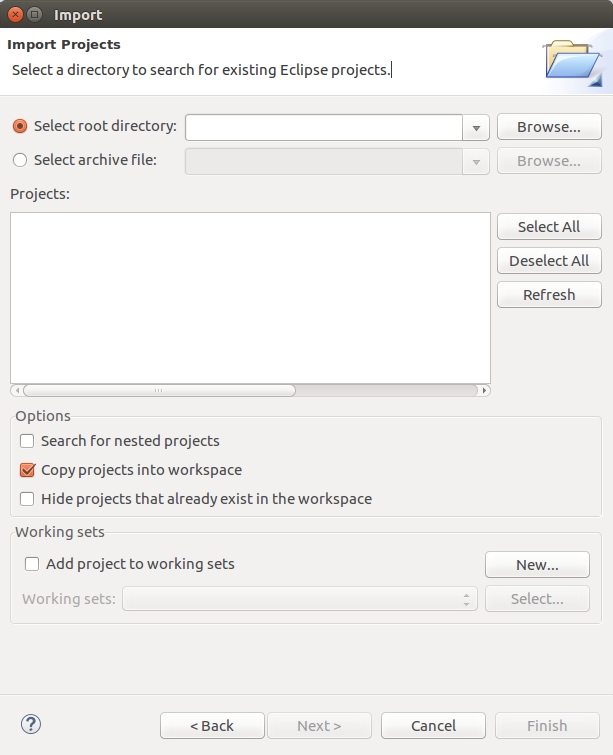
Project Copy
File -> Import
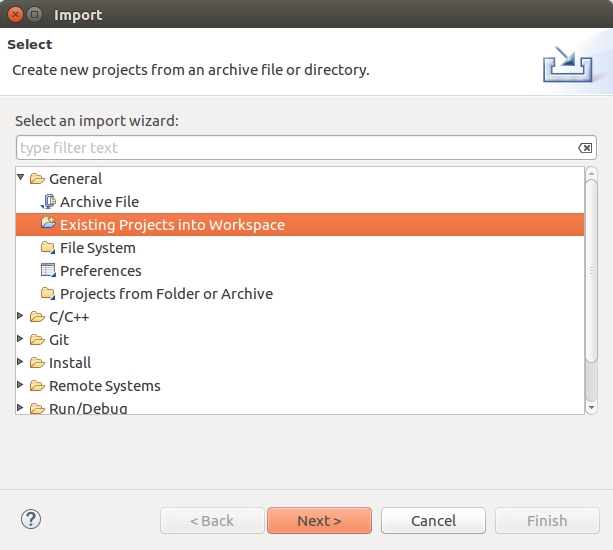
Select SDK folder.
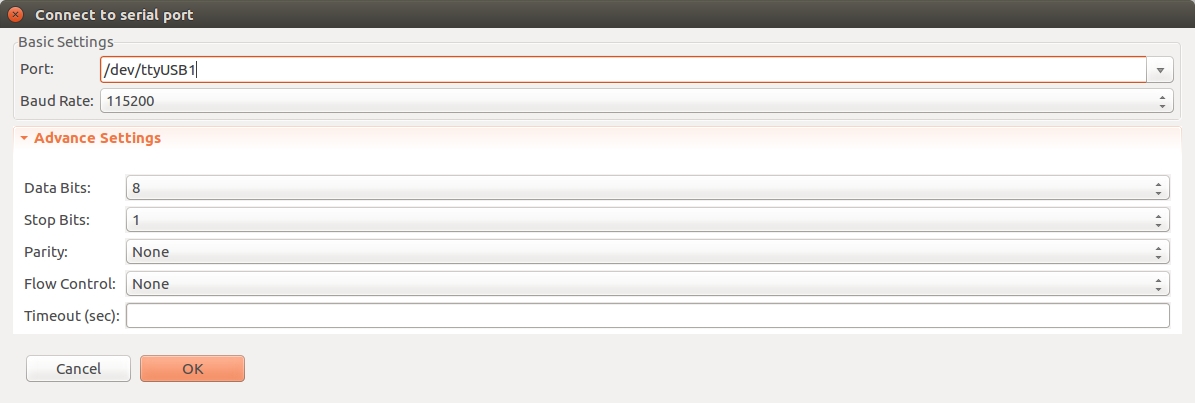
Connect Serial COM
/dev/ttyUSB1
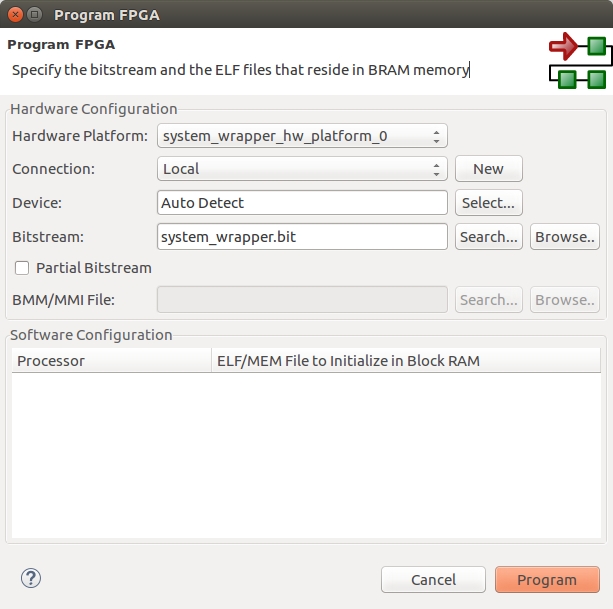
Write Hardware
Xilinx -> Program FPGA
Run
Select the application project.
Right click, Run As -> “Launch on Hardware (System Debugger)”.
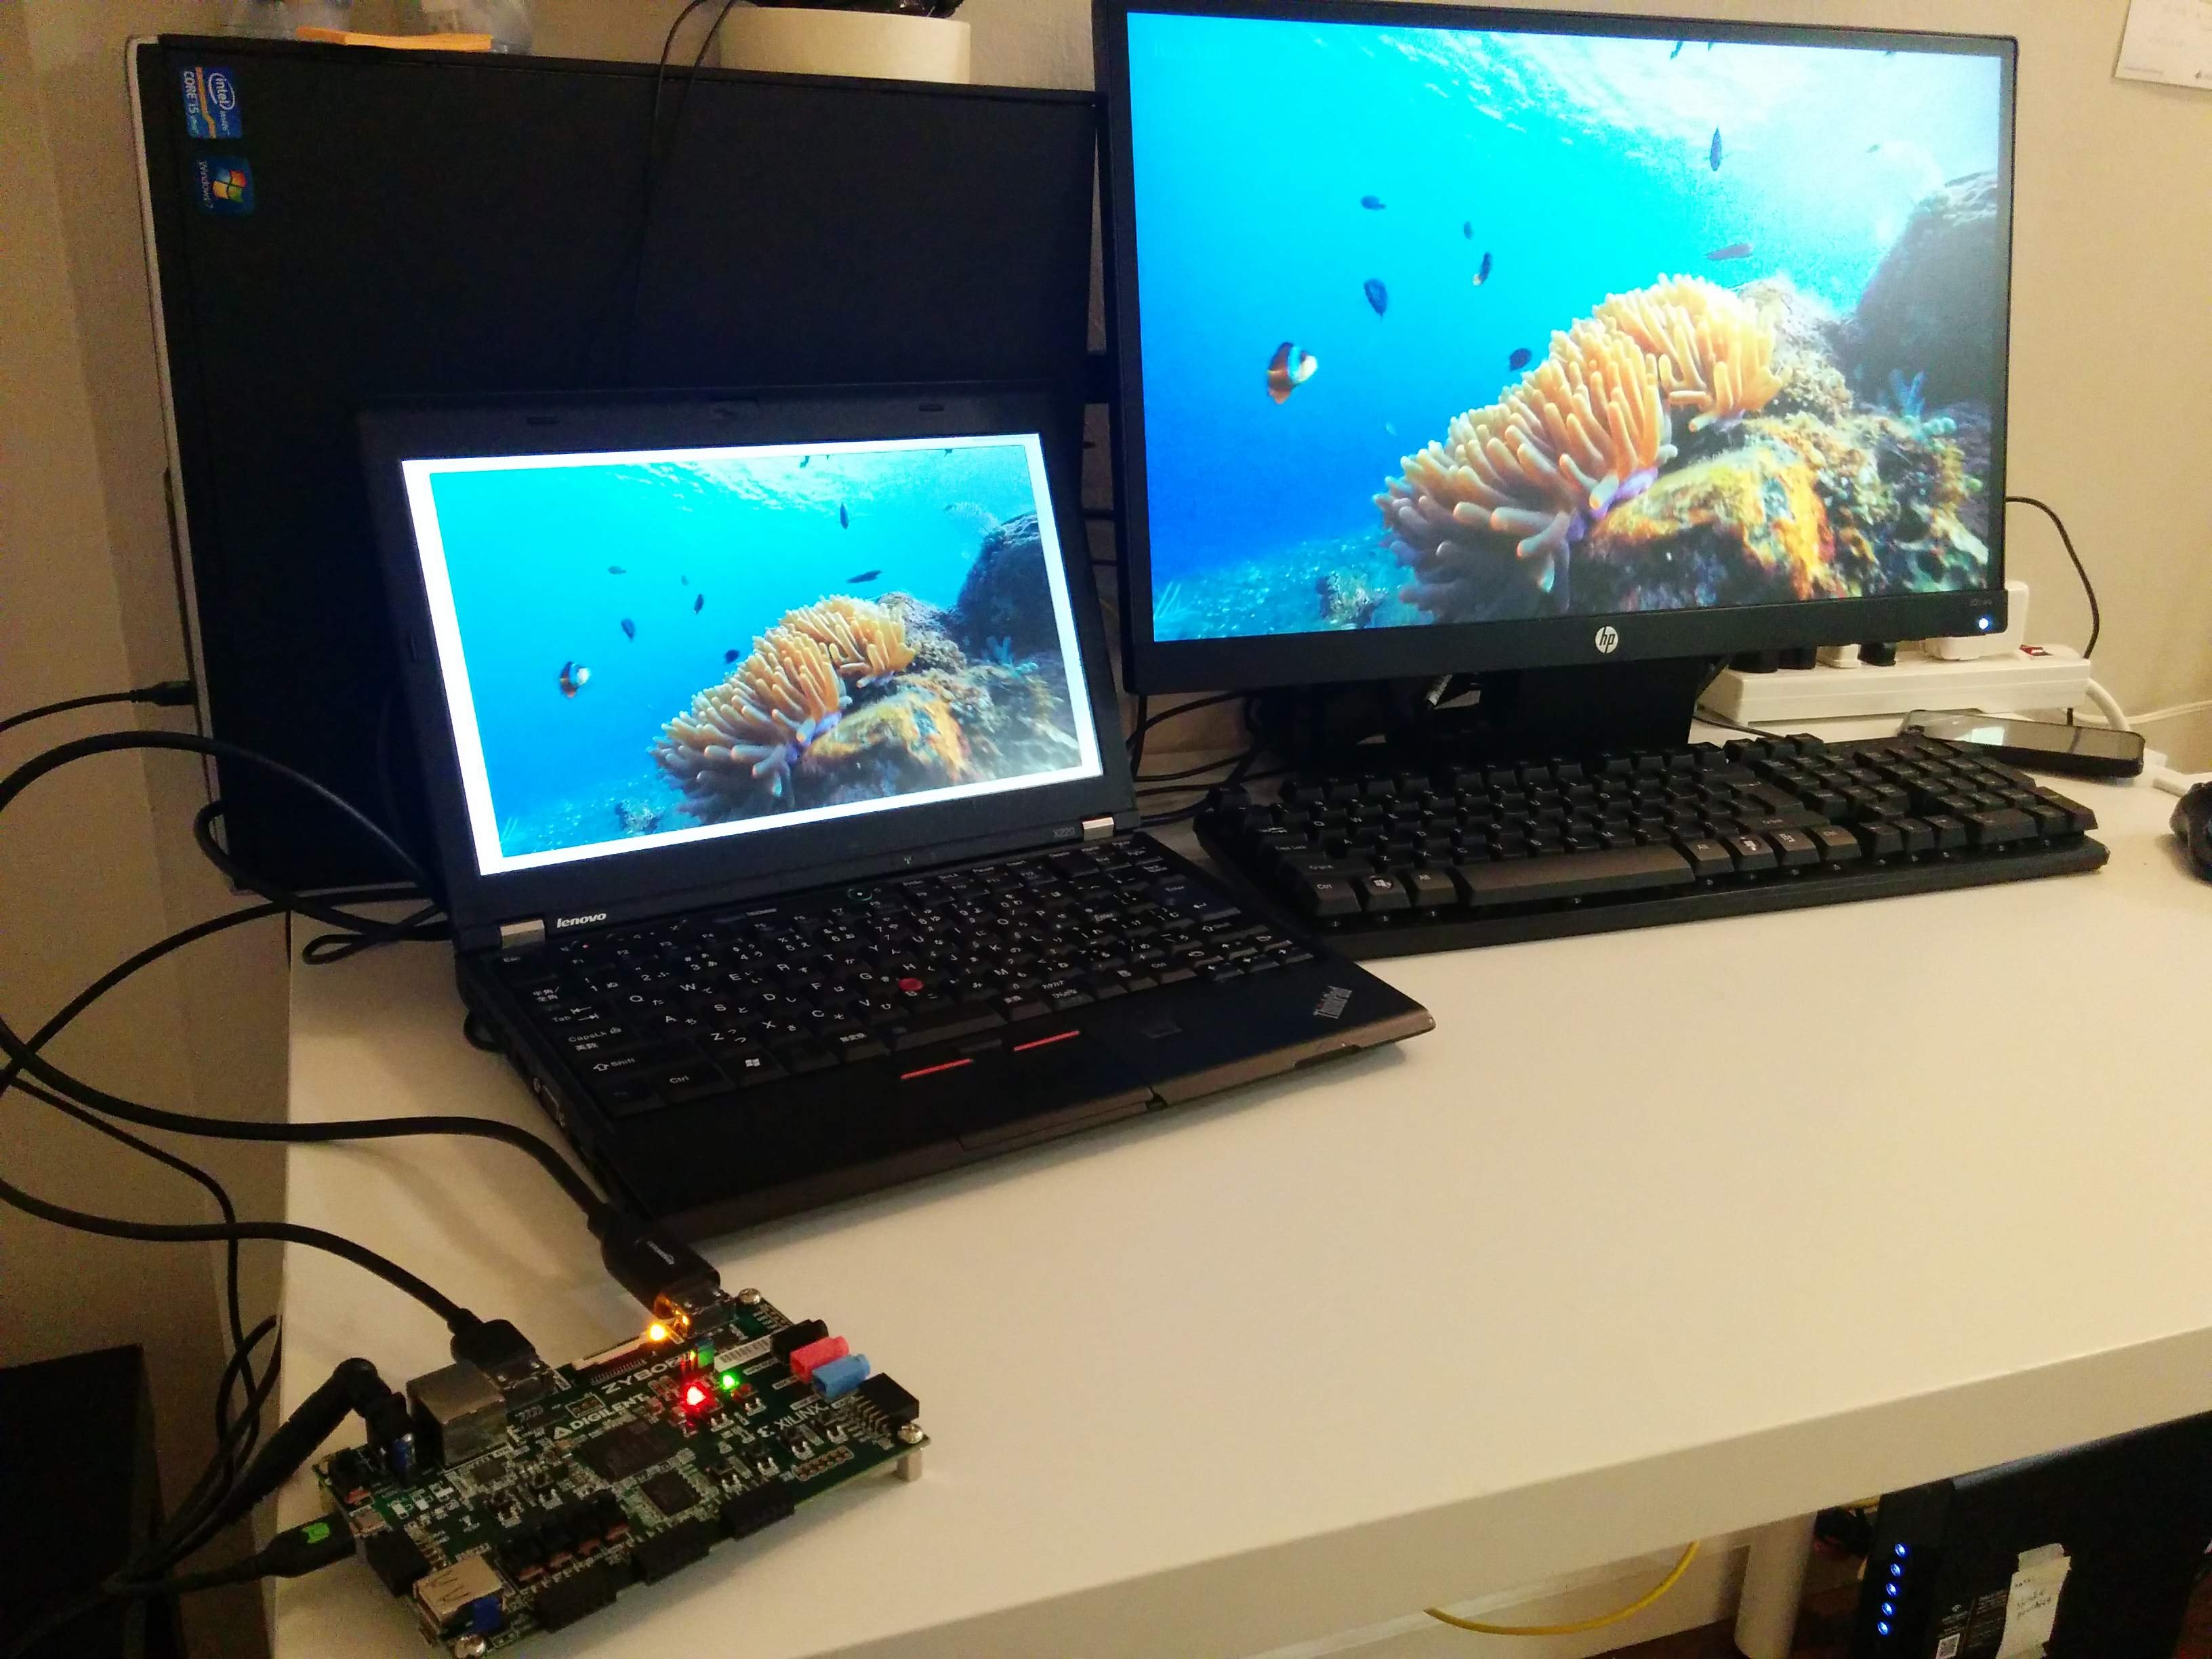
Result
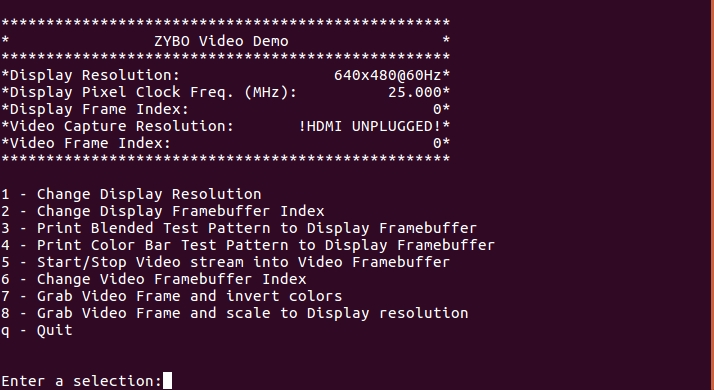
Example video is from here.
Música para Dormir 24/7 | Música Relajante – YouTube
Reference
- Using Digilent Github Demo Projects [Reference.Digilentinc]
- Zybo Z7 HDMI Demo [Reference.Digilentinc]
- HDMI Output demo top module – FPGA – Digilent Forum
- Nexys Video DMA Audio Demo Not Working – FPGA – Digilent Forum
- AR# 62240: 2014.3 インストール – Ubuntu に sudo 権限を使用して通常ユーザーとしてインストールすると、Vivado の実行で「Error: Failed to save the Vivado user preferences file. Reason: ‘/home/user/.Xilinx/Vivado/2014.3/vi