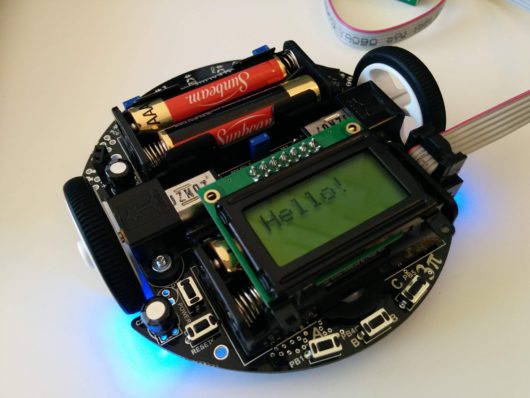
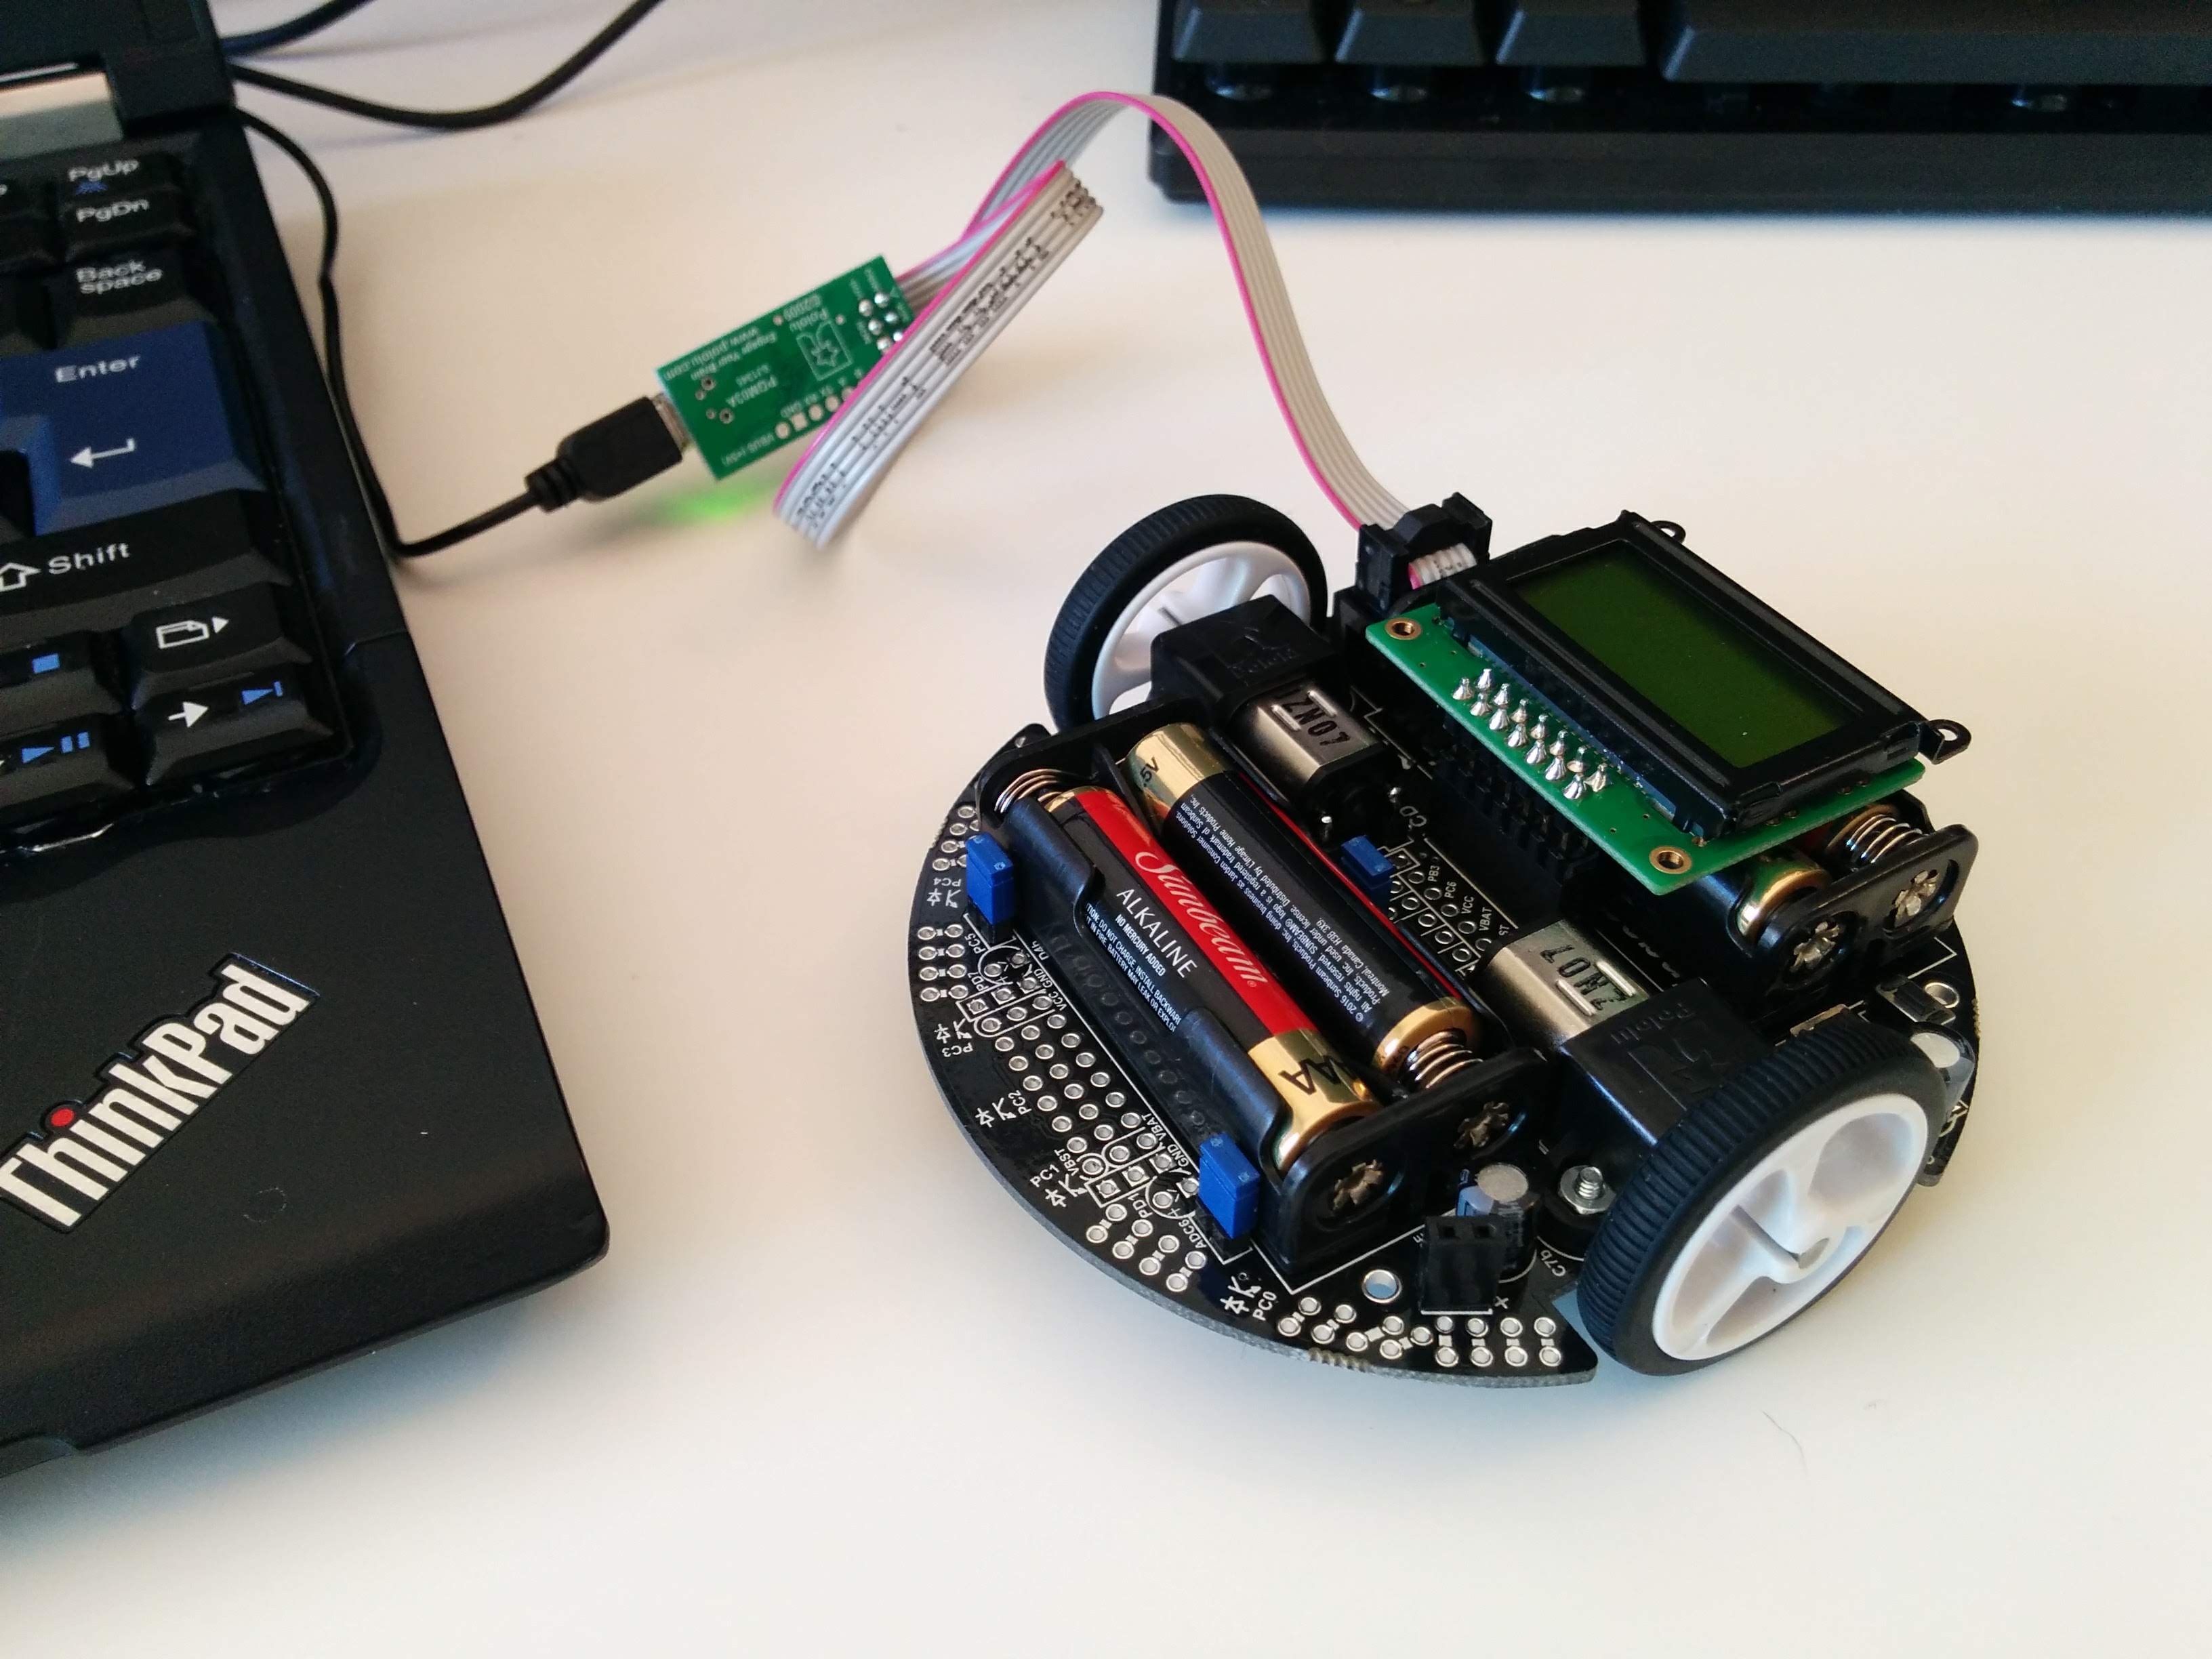
Taking “Introduction to Robotics” at UCSC Extension in this quarter. The teacher who is Thomas P Poliquin recommended me to buy “Pololu 3pi Robot”. So ordered it on “pololu.com”. This post is my memo about setup a 3pi Robot.
Environment
- Ubuntu 16.04
- Pololu 3pi Robot (ATmega328P)
Download program
Now, latest version is “libpololu-avr-151002.zip”.
Pololu Download Instructions
$ cd ~/Downloads
$ wget "https://www.pololu.com/file/0J1058/libpololu-avr-151002.zip"
$ unzip libpololu-avr-151002.zip
$ cd libpololu-avr
Install
$ sudo apt-get install gcc-avr avr-libc avrdude
$ cd libpololu-avr/
$ sudo make install
$ ls
arduino       installer.nsi               libpololu_atmega328p.a  pololu
atmel_studio  libpololu_atmega1284p.a     libpololu_atmega48.a    README.txt
devices       libpololu_atmega1284p_x2.a  libpololu_atmega644p.a  src
examples      libpololu_atmega168.a       LICENSE.txt
install.bat   libpololu_atmega324p.a      Makefile
$ make show_prefix
The Pololu AVR Library object files (.a) will be installed in /usr/lib/avr/lib
The header files (.h) will be installed in /usr/lib/avr/include/pololu
Make a sample program
$ cd ./examples/atmega328p/simple-test/
$ vim ./test.c
#include <pololu/orangutan.h>

int main()
{
	print("Hello!");

	play("L16 ceg>c");

	while(1)
	{
		red_led(0);
		green_led(1);

		delay_ms(100);

		red_led(1);
		green_led(0);

		delay_ms(100);
	}

	return 0;
}

// Local Variables: **
// mode: C **
// c-basic-offset: 4 **
// tab-width: 4 **
// indent-tabs-mode: t **
// end: **
$ make
avr-gcc -g -Wall -mcall-prologues -mmcu=atmega328p -Os -c -o test.o test.c
avr-gcc -g -Wall -mcall-prologues -mmcu=atmega328p -Os test.o -Wl,-gc-sections -lpololu_atmega328p -Wl,-relax -o test.obj
avr-objcopy -R .eeprom -O ihex test.obj test.hex
rm test.objConnect to 3pi
- Connect cable.
- Turn on the power button.
- Check the port number.
Make sure, connecting to “/dev/ttyACM0”.
$ ls /dev/ttyACM*
/dev/ttyACM0  /dev/ttyACM1
If it is different, should edit “Makefile” like below.
$ vim Makefile
PORT ?= /dev/ttyACM0
Important
Should check the voltage of batteries.
Warning: Do not attempt to program your 3pi if its batteries are drained or uncharged (make sure you charge any new rechargeable batteries fully before you first use them). Losing power during programming could permanently disable your 3pi.
Battery: This demo displays the battery voltage in millivolts, which should be above 5000 (5.0 Volts) for a fully-charged set of batteries. Removing the jumper marked ADC6 will separate the battery voltage measurement circuit from the analog input, causing the number displayed to drop to some low value.
Upload to 3pi
Then upload.
$ make program
avrdude -p m328p -c avrisp2 -P /dev/ttyACM0 -U flash:w:test.hex

avrdude: AVR device initialized and ready to accept instructions

Reading | ################################################## | 100% 0.00s

avrdude: Device signature = 0x1e950f (probably m328p)
avrdude: NOTE: "flash" memory has been specified, an erase cycle will be performed
         To disable this feature, specify the -D option.
avrdude: erasing chip
avrdude: reading input file "test.hex"
avrdude: input file test.hex auto detected as Intel Hex
avrdude: writing flash (2834 bytes):

Writing | ################################################## | 100% 0.74s

avrdude: 2834 bytes of flash written
avrdude: verifying flash memory against test.hex:
avrdude: load data flash data from input file test.hex:
avrdude: input file test.hex auto detected as Intel Hex
avrdude: input file test.hex contains 2834 bytes
avrdude: reading on-chip flash data:

Reading | ################################################## | 100% 0.61s

avrdude: verifying ...
avrdude: 2834 bytes of flash verified

avrdude: safemode: Fuses OK (E:FC, H:D9, L:F6)

avrdude done.  Thank you.
Hello!

