Month: June 2019

  • Run WebRTC Native Client Momo on Raspberry Pi 3B

    Run WebRTC Native Client Momo on Raspberry Pi 3B

    Goal

    Download momo binary and run on Raspberry Pi 3B to see a Pi’s camera image on Host PC.

    Environment

    • Server: Raspberry Pi 3B
    • Client: X220 (Ubuntu 18.04)
    • Momo: 19.07.0-rc0

    Setup Camera

    • Connect a camera to Pi
    • $ vcgencmd get_camera
      • supported=1 detected=1 # Should be like this

    Setup Library

    • $ sudo apt-get install libnspr4 libnss3
    • $ sudo modprobe bcm2835-v4l2
    • $ sudo vi /etc/modules
      • bcm2835-v4l2 # For Using Raspberry Pi Camera
    • $ sudo reboot

    Check IP address

    • $ ifconfig
      • wlan0: flags=4163 mtu 1500
      • inet 10.0.0.88 netmask 255.255.255.0 broadcast 10.0.0.255

    Get momo

    • $ wget https://github.com/shiguredo/momo/releases/download/19.07.0-rc0/momo-19.07.0-rc0_raspbian-stretch_armv7.tar.gz
      • You can see newest version at here.
        • Raspbian Stretch ARMv7
          • For Raspberry Pi 3 B/B+
        • Raspbian Stretch ARMv6
          • For Raspberry Pi Zero W/WH
    • $ tar xvzf momo-19.07.0-rc0_raspbian-stretch_armv7.tar.gz
    • $ sudo rm -r momo-19.07.0-rc0_raspbian-stretch_armv7.tar.gz

    Run momo

    • $ cd momo-19.07.0-rc0_raspbian-stretch_armv7/
    • $ ./momo --version
      • WebRTC Native Client Momo version 19.07.0-rc0 USE_MMAL_ENCODER=1
    • $ ./momo --help
    • $ ./momo --no-audio --resolution HD --framerate 30 p2p

    Acces

    Benchmark

    The delay is about 100~300msec.

    momo 19.02.0

    momo 19.07.0-rc0

    My Note

    • According to the wiki,
      • RPi 3 Model B is ARMv8-A (64/32-bit).
      • RPi zero is ARMv6Z (32-bit)
    • However if we run the command on Pi 3B,
      • $ lscpu
        • Architecture: armv7l
        • Byte Order: Little Endian
        • CPU(s): 4
        • On-line CPU(s) list: 0-3
        • Thread(s) per core: 1
        • Core(s) per socket: 4
        • Socket(s): 1
        • Model: 4
        • Model name: ARMv7 Processor rev 4 (v7l)
        • CPU max MHz: 1200.0000
        • CPU min MHz: 600.0000
        • BogoMIPS: 38.40
        • Flags: half thumb fastmult vfp edsp neon vfpv3 tls vfpv4 idiva idivt vfpd32 lpae evtstrm crc32
    • Which mean Pi 3B is not compatible ARMv8 yet.

    Reference


  • Raspberry Pi 3B Setup

    Raspberry Pi 3B Setup

    Goal

    Install Lite Raspbian on Raspberry Pi 3B, and connect to Pi from Host PC using SSH.

    Environment

    • Host PC: Ubuntu 16.04
    • Client PC: Raspberry Pi 3B

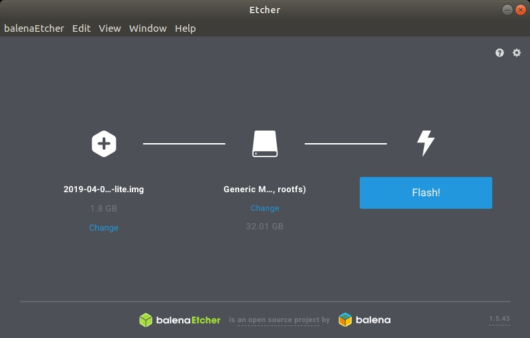
    Prepare SD card using Host PC

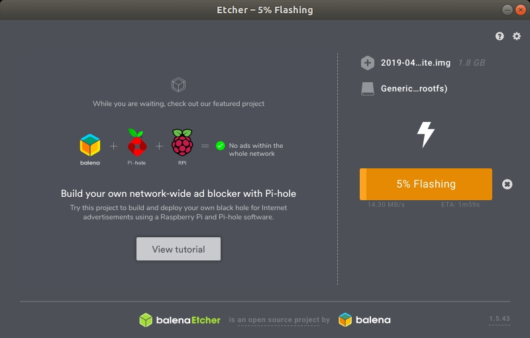
    1. Get Etcher to burn the image file.
    2. Get the Raspbian Stretch Lite from raspberrypi.org.
    3. Burn zip image file to a blank SD card.
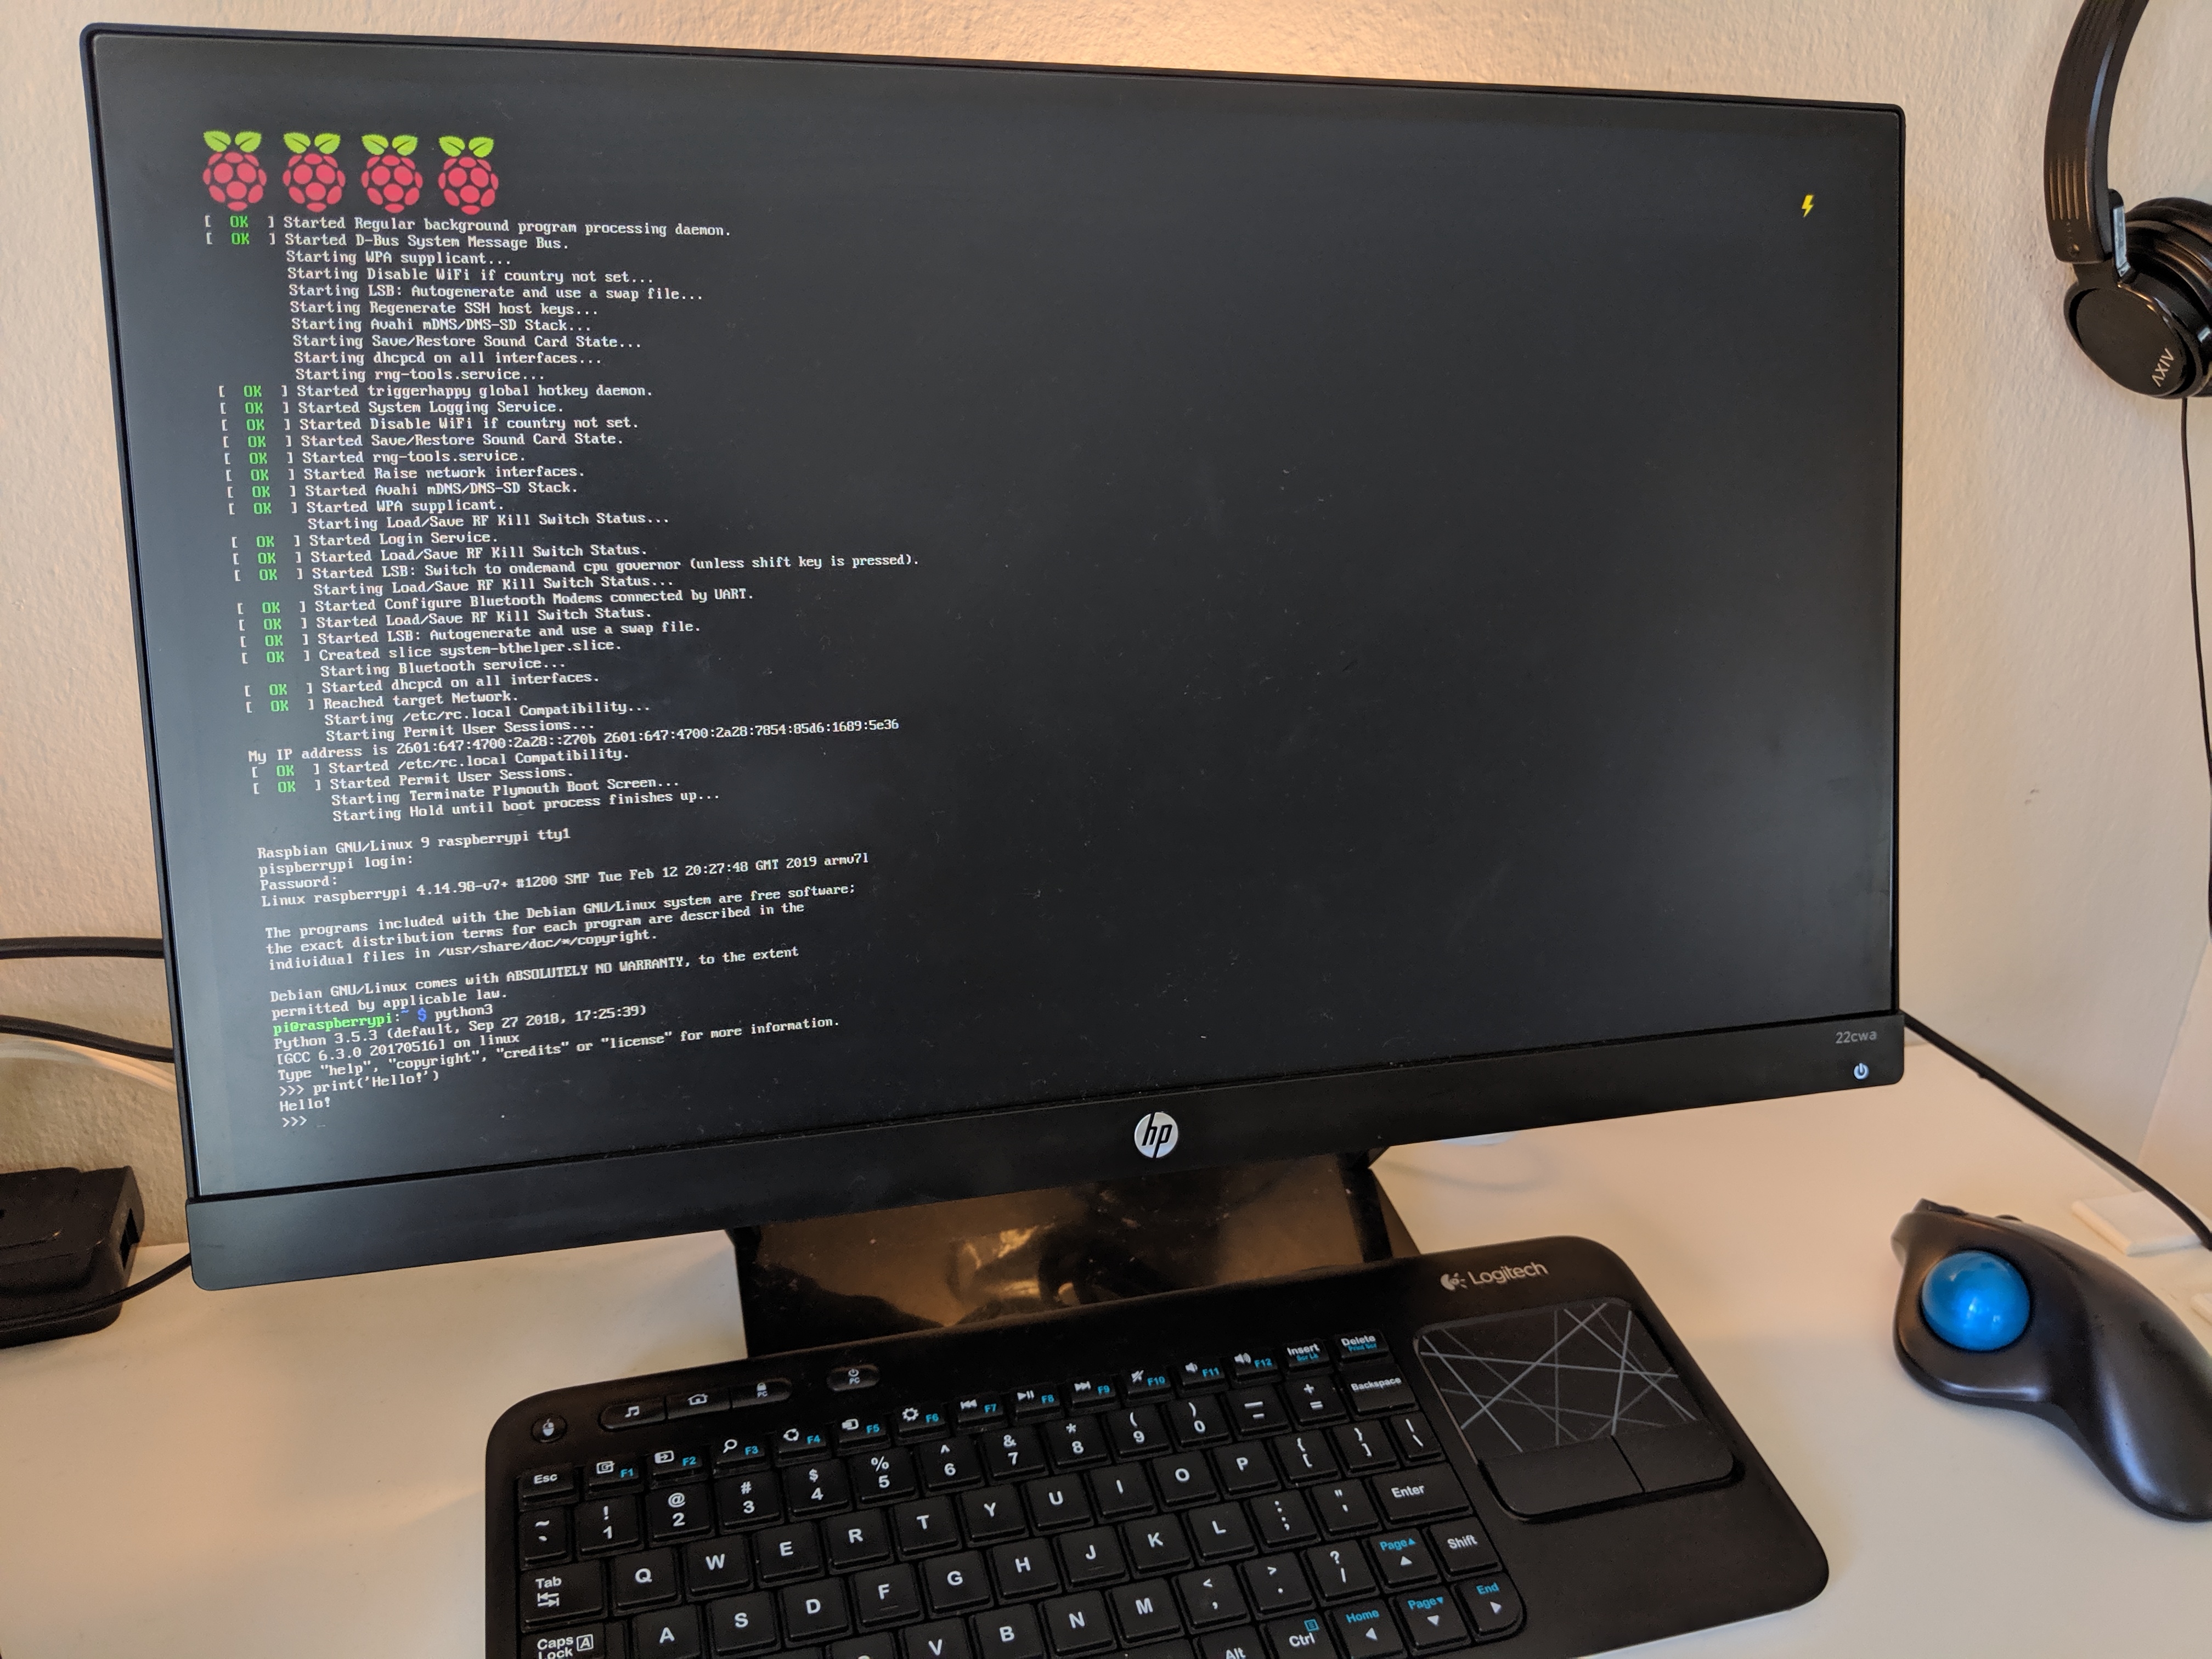
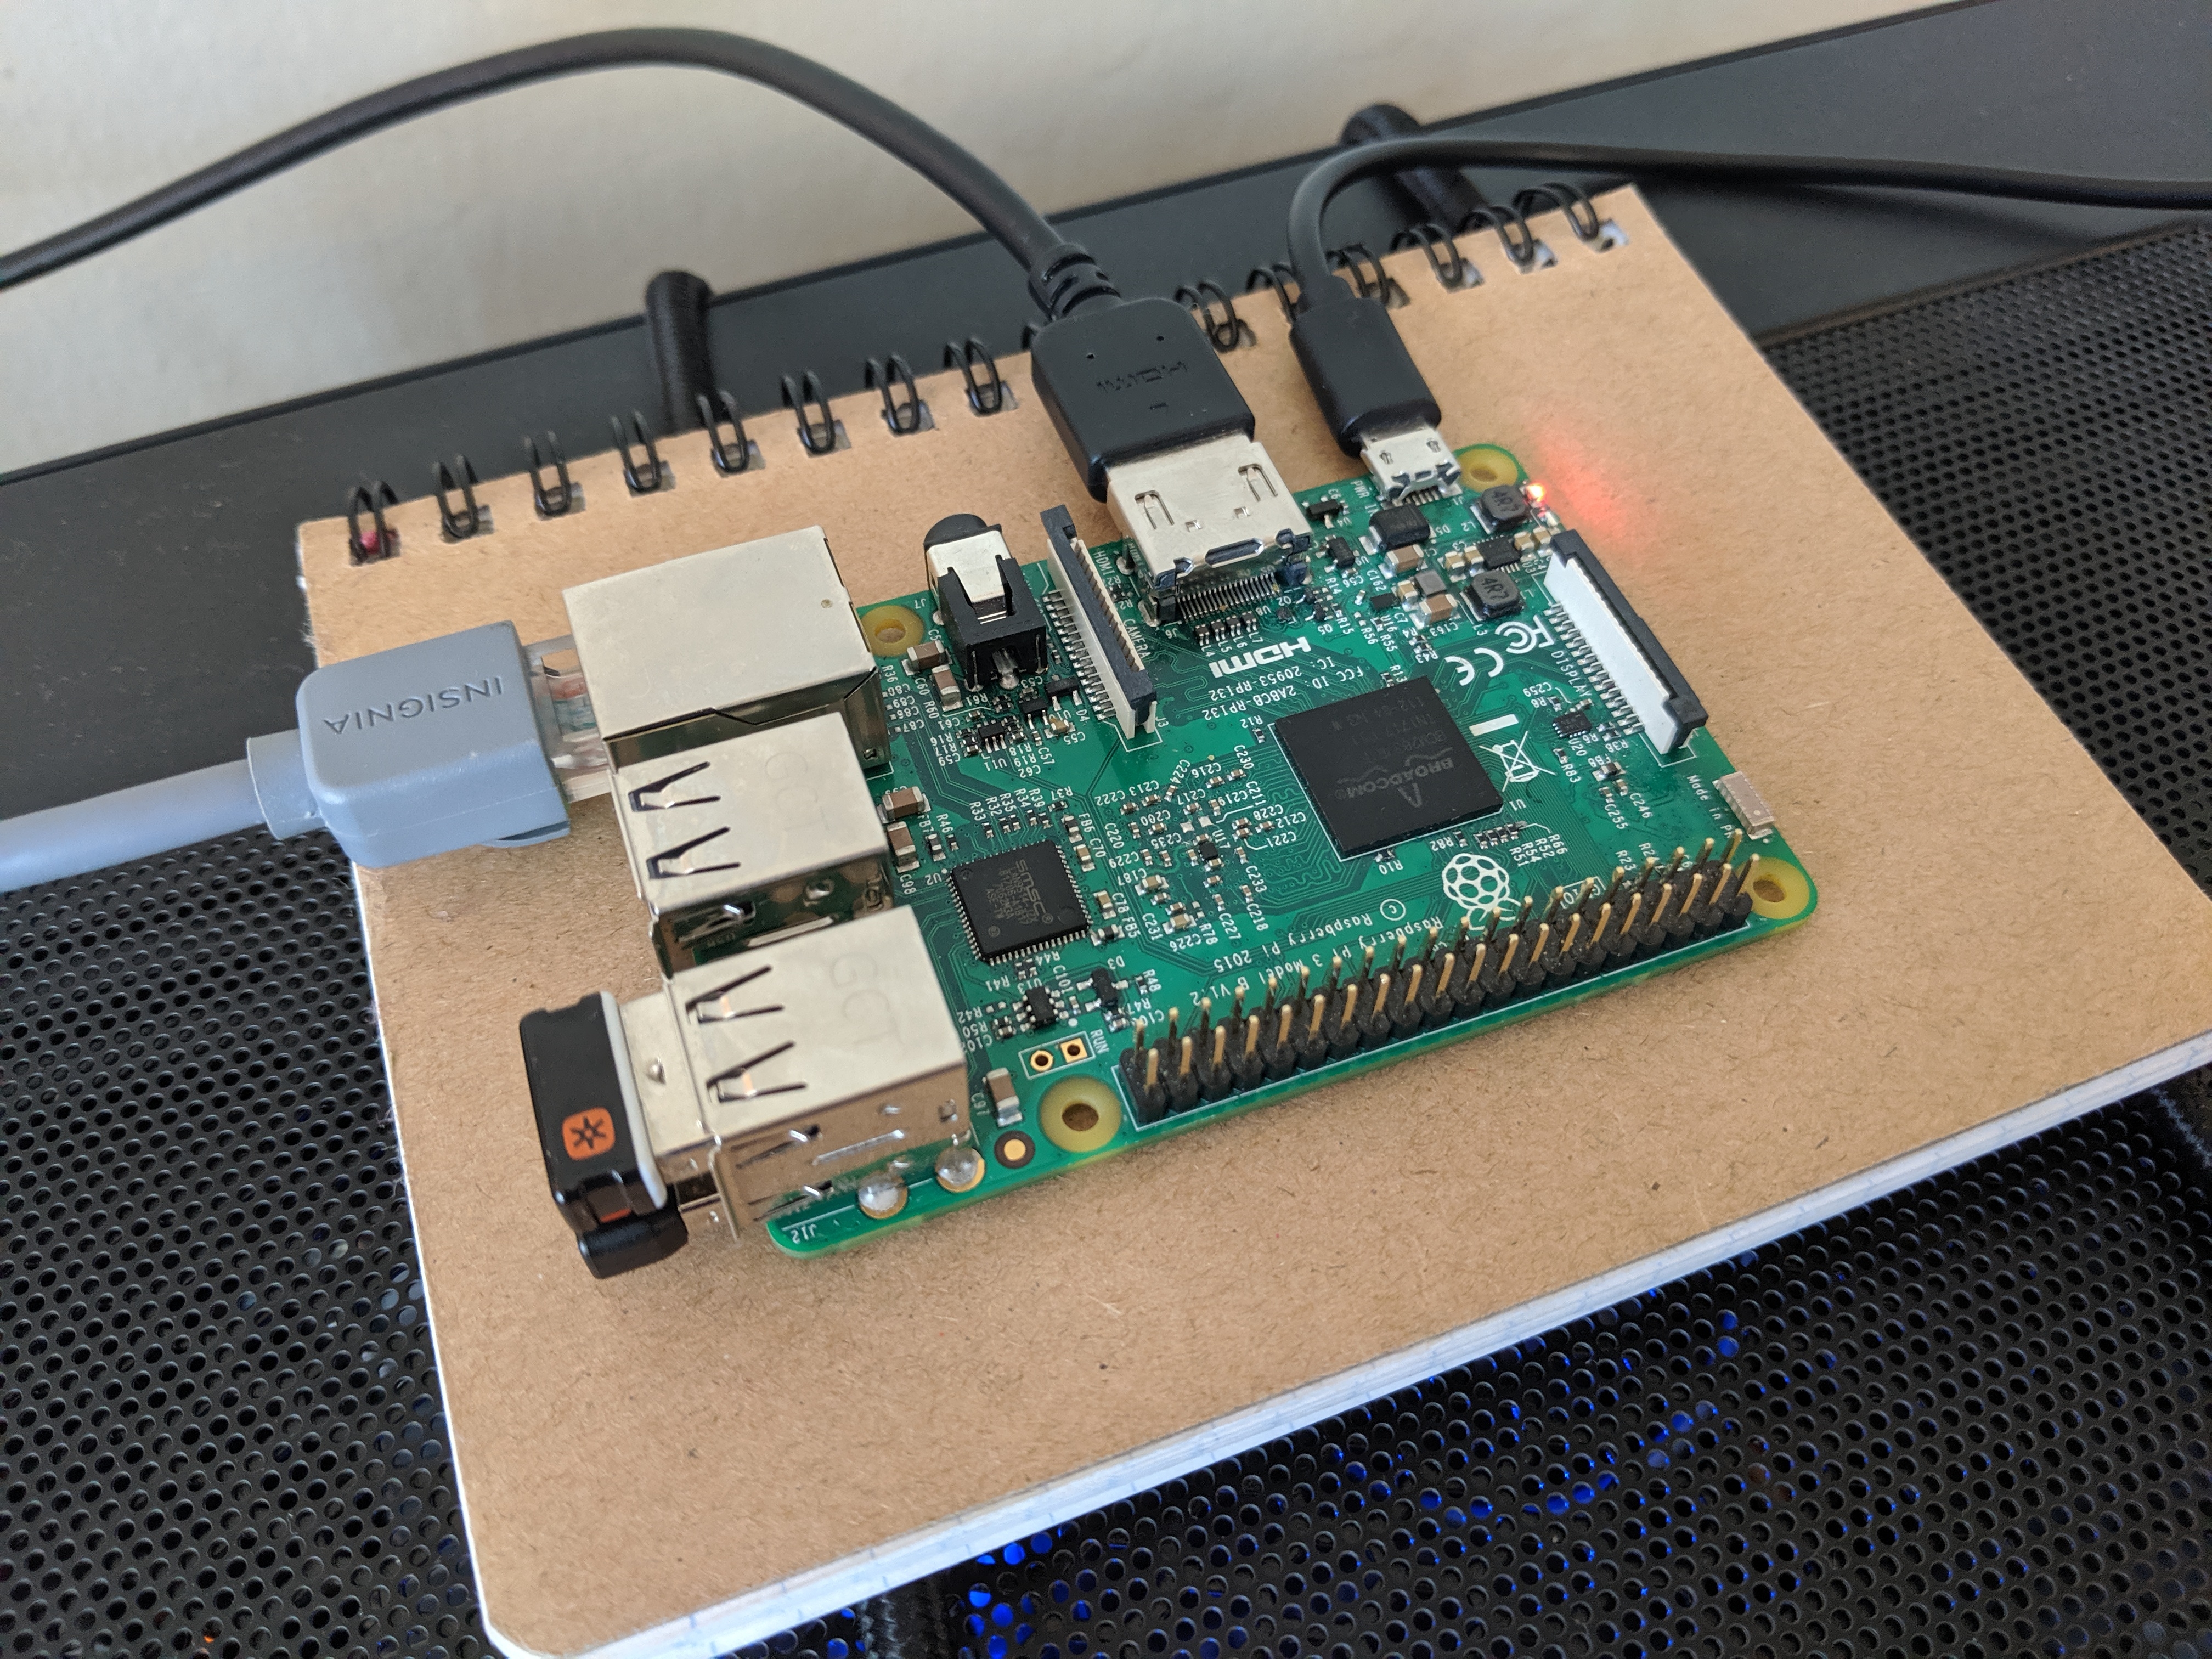
    Boot Raspberry Pi

    1. Insert the SD card your prepared on last step.
    2. Make sure RasPi should be connected a HDMI display, a keyboard and a mouse.
    3. Connect a usb cable to RasPi for providing power.
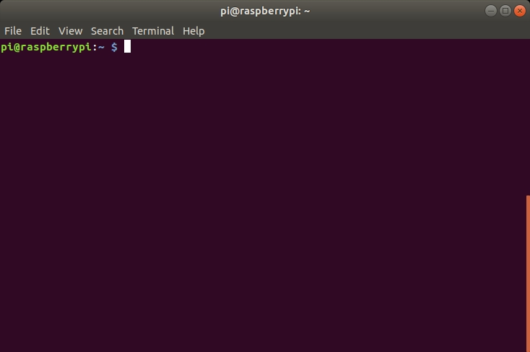
    Login

    • User: pi
    • Password: raspberry

    Setup Config (Optional)

    • $ sudo raspi-config
      • Advanced Options -> Expand Filesystem -> OK
      • Localisation Options -> Change Timezone -> Select your location
      • Localisation Options -> Change Keyboard Layout -> Generic 101-key PC -> Other -> English(US) -> English(US) -> The default for the keyboard layout -> No compose key
      • Interfacing Options -> P2 SSH -> Yes -> OK
      • Interfacing Options -> P1 Camera -> Yes -> OK
      • Interfacing Options -> P5 I2C -> Yes -> OK
      • Finish -> Yes
    • $ sudo reboot now

    Update Raspbian Package (Optional)

    • $ sudo apt-get update
    • $ sudo apt-get upgrade
    • $ sudo apt-get dist-upgrade
    • $ sudo apt-get install -y rpi-update
    • $ sudo rpi-update
    • $ sudo reboot now

    Install Tools (Optional)

    • $ sudo apt-get install vim
    • $ sudo apt-get install git

    Setup Wifi (Optional)

    • $ sudo vim /etc/wpa_supplicant/wpa_supplicant.conf
    ctrl_interface=DIR=/var/run/wpa_supplicant GROUP=netdev
    update_config=1
    network={
        ssid="xxxx"
        psk="xxxx"
    }

    Connect to Raspberry Pi from Host PC via Wifi using SSH

    • $ sudo ssh pi@raspberrypi.local

    Finish!

    Reference